

Introduction
Creating a visually striking and engaging advertisement is crucial in capturing the attention of viewers. One way to achieve this is by using Blender 3.1, a powerful and versatile 3D graphics software. In this blog post, we will guide you through the process of UV wrapping a box in Blender 3.1 and applying it to a spec advertisement animation. UV wrapping is an essential technique that allows you to apply textures or images onto a 3D object.
Step 1: Modeling the Box
Before we begin UV wrapping, we need a 3D object to work with. In this case, we will create a simple box.
- Open Blender 3.1 and delete the default cube (press X and confirm).
- Press Shift + A to bring up the Add menu and select Mesh > Cube.
- In the Properties panel on the right, under the Object Data Properties tab, you can adjust the dimensions and other properties of the box.
Step 2: Unwrapping the Box
Now that we have a box, we can proceed to unwrap it. Unwrapping is the process of projecting the 3D object’s faces onto a 2D plane, allowing you to apply a texture.
- Press Tab to enter Edit Mode.
- Select all the faces of the box by pressing A.
- In the 3D Viewport, press U to bring up the UV Mapping menu and choose “Unwrap.”
Step 3: Creating a Texture
Next, we need to create a texture to apply to our box. This can be done in Blender or imported from an external image file.
- Open the Shader Editor by changing the editor type at the top of the screen.
- Press Shift + A and select Texture > Image Texture to add a new node.
- Connect the Image Texture node’s output to the Base Color input of the Principled BSDF node.
- To import an external image, click on “Open” and navigate to your desired file.
Step 4: UV Editing
To make sure our texture is correctly applied to the box, we need to edit the UV map.
- Split the 3D Viewport into two sections by dragging the top right corner and selecting the UV Editor in one of the sections.
- In the UV Editor, you should see the flattened faces of the box.
- Select the faces and use the tools provided (Scale, Rotate, Grab, etc.) to align the UV map with the texture.
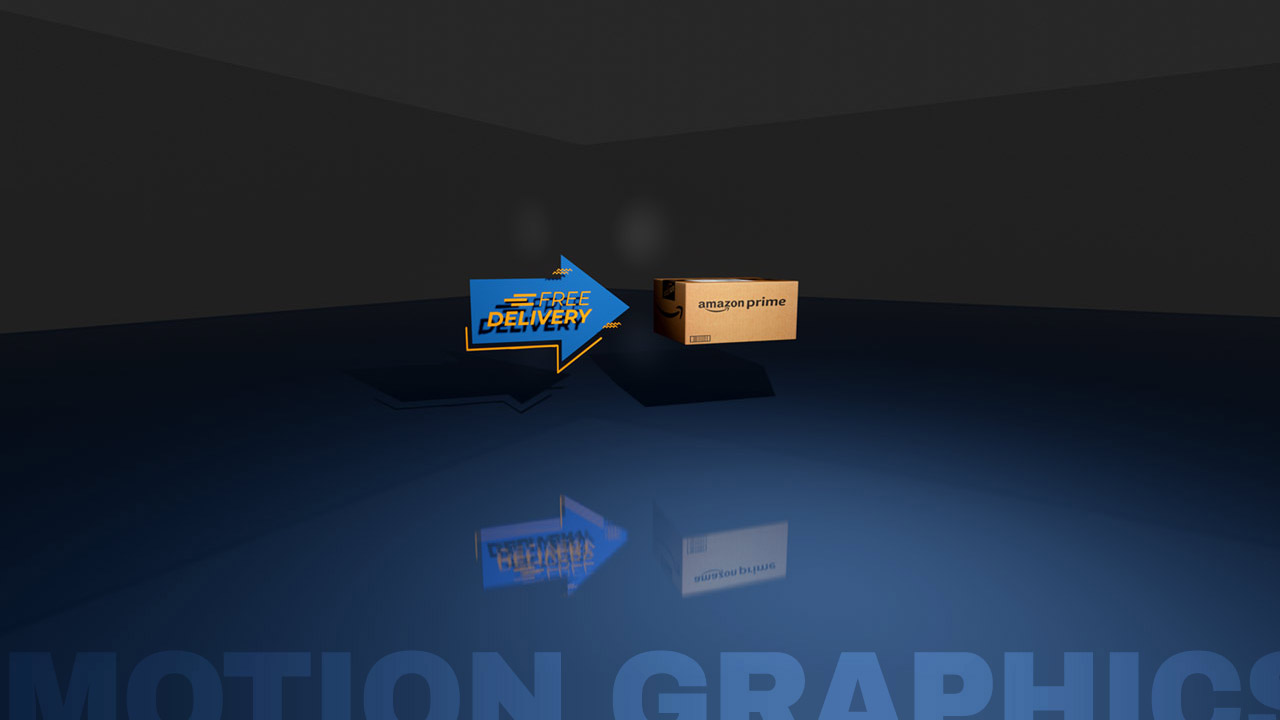
Step 5: Creating the Spec Advert Animation
With our box now textured, we can create the spec advertisement animation.
- In the Timeline at the bottom, set the desired duration for your animation (e.g., 150 frames).
- Position the box in the 3D Viewport at the starting point of your animation.
- Press I and choose “Location” to insert a keyframe.
- Move the Timeline slider to the last frame, move the box to its final position, and press I again to insert another keyframe.
- To make the animation more dynamic, add rotation and scale keyframes, or insert other objects (e.g., text, images, or additional 3D models).
Step 6: Rendering and Exporting
Finally, we need to render and export our animation.
- In the Properties panel, under the Output Properties tab, choose your desired output settings (e.g., file format, resolution, and frame rate).
- Under the Render Properties tab, adjust render settings to your liking (e.g., sampling, light paths, and performance).
- Press Ctrl + F12 or go to the Render menu at the top and select “Render Animation” to start rendering your animation.
- Once the rendering is complete, Blender will save the animation to the specified output folder.
Wrapping it all up…
By following these steps, you can create a captivating spec advertisement animation using Blender 3.1, complete with a textured box and dynamic movement. Mastering the UV wrapping technique is an essential skill for any 3D artist or animator, as it enables you to create more realistic and visually appealing objects. Whether you’re working on a commercial project or simply honing your skills, Blender offers a powerful and flexible platform for bringing your creative visions to life.


